

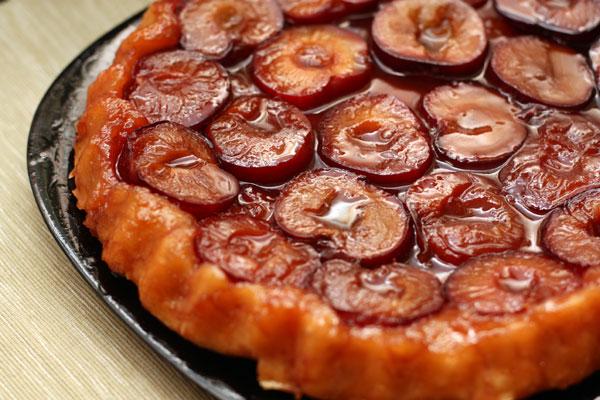
Classic “Red Velvet”
 Red Velvet is an American classic. Cake with a subtle chocolate flavor made from scarlet-colored cakes, contrasting with white cream, became popular in the military in the 1940s. Between the II World and the main chip of the cake – a bright color – there is a direct connection.
Because of the lack of many products in sufficient quantities, cooks and pastry chefs of that time experimented a lot with the cheapest ingredients, including beetroot juice. The original coloring of the cake was made with its help and only later it was supplanted by artificial food colors.
There is no stopping at all: beets are one of the most inexpensive and at the same time festive products in color. Her unusual color more than once rescued different countries in difficult times. Just remember one example – our “Herring under a fur coat” is strange in terms of the combination of products, but elegant in appearance salad, made up of the most accessible components in a hungry post-revolutionary time in the young USSR.
Similarly, during the First World, the bright orange carrot became the basis of the Carrot Cake, now perceived as low-calorie baking, but actually created on the basis of carrots not because of the desire to eat healthy food, but because of the simple absence of flour in wartime.
Now Red Velvet is a cake legend whose taste can be assessed without any historical overtones. However, when you know that behind the glamorous look there is something more than fantasy to paint the cake in an unusual color, when you realize that there is a whole era behind the bright color, the taste of Red Velvet starts to sound different: more significant, more interesting.
For the basics:
Dry ingredients:
400 g of plain flour
10 g cocoa powder without sugar
1 teaspoon soda
a pinch of salt
Wet Ingredients:
115 g of softened butter
350 g sugar
2 eggs
250 ml of vegetable oil
1 tsp white wine vinegar
2 tsp. vanilla extract or 2-3 pinches of vanilla
1 cup of kefir 1%
1/2 tbsp. red food coloring
For cream:
400 g Philadelphia cheese
115 g butter
a pinch of vanilla
450 g of powdered sugar
For topping:
several handfuls of fresh berries
Preheat oven to 180C. Lubricate the shape that was chosen for baking the cake, and at the bottom, and from the sides thoroughly with butter.
Sift the flour through a sieve and mix it with everything on the “dry ingredients” list. In another container, mix the butter and sugar, beat them with a blender. Add eggs, continuing to beat.
After that, in the resulting mixture you need to pour in vegetable oil, vinegar, add vanilla, kefir and red dye. Blend the mixture until smooth.
After that, you can add dry ingredients to the resulting mixture and re-work the whole blender.
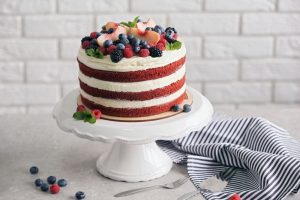
Divide the dough into 2 or 3 parts (depending on how many cakes you want to get and whether you want to use cakes, cutting them along to make a thin layer of dough, or you want to leave the cakes thick, uncut, as we did on a photo). From each part, leveling it along the bottom of the mold, prepare the cake.
Bake them for 25-30 minutes at 180C. Pulling out of the oven, let them cool and then remove from the form.
For the cream you will need to mix the Philadelphia cheese, butter and vanillin. After that, add the icing sugar. If you feel that the cream is watery, add more powdered sugar.
Grease each of the cakes with cream and put the cakes on top of each other.
Put the cake in the fridge for a couple of hours so that the cakes and cream “stand up” and become one.
You can make a cake out of cakes that have been smeared with cream, or you can go ahead and cover the entire surface of the cake from above — both the top and the side — with cream. To level it in this case is most convenient with a rubber pastry spatula.
The top of the cake, regardless of whether there is a cream on top, is deliciously decorated with a pile of berries. If the cream is, it will help keep the berry platter – so we recommend not to refuse it.
